Making Purple Eye DIY Dancing Robot
Demonstrating Web Bluetooth and the Physical Web with a Dancing Purple Robot


Over the past year or so, I’ve been giving lots of talks and workshops around technologies like Web Bluetooth and the Physical Web. During these presentations, I like to give people a chance to play with the technology, sink their teeth into the code, and generally have a good time. I also like to use props like the ng-simon game and smart bulbs to get really “hands on” with the technology. And in that spirit, I built a robot!
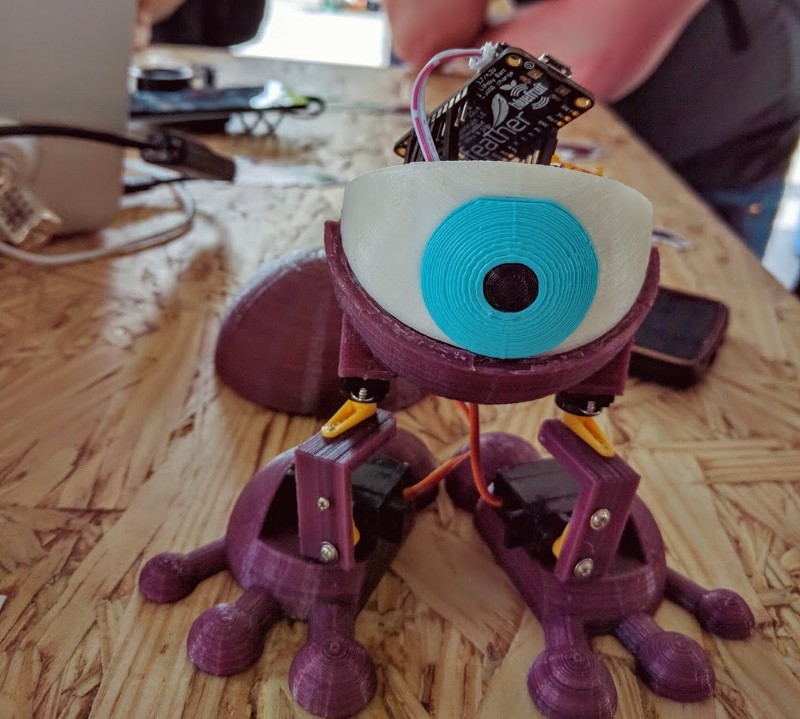
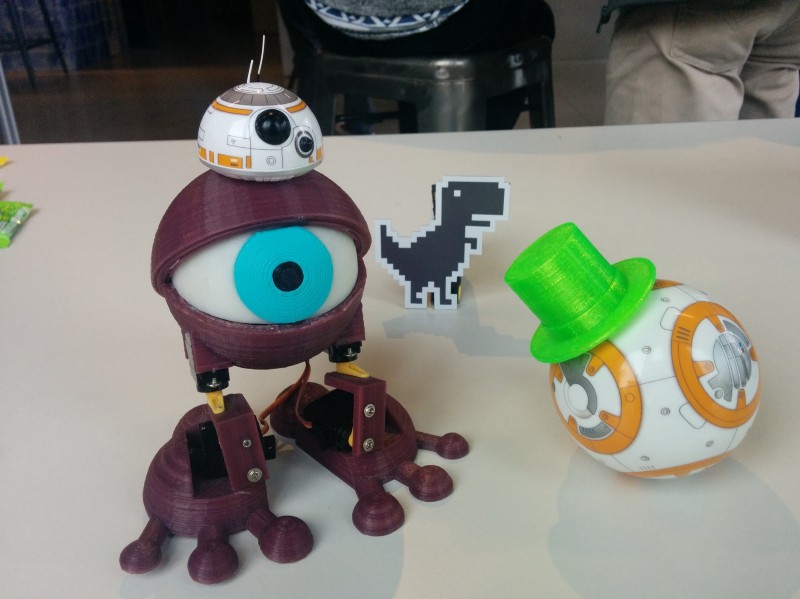
Meet Purple Eye, a 3D-printed, Bluetooth Low Energy-powered robot I use to demonstrate how Web Bluetooth works:
Neat, right? I based the design of the bot around a model I found on Thingiverse, and printed it on an M3D Micro.
The robot has four servos that power its movement, all of which are controllable through BLE, and each leg is powered by two servos, one which controls the angle of the leg, and one that controls the rotation of the foot.
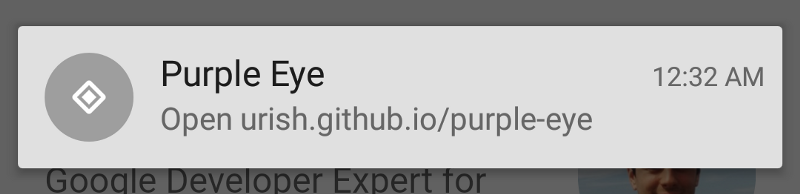
Purple Eye exposes two BLE services: Battery Service, reporting the percentage of charge remaining in the battery, and another service to control the servos (number 5100). In addition, it broadcasts the address of the web application that controls the robot using the Physical Web, so everyone around gets a notification about its presence, can click it to open the web page, connect to the robot, and control it:
You can find all of the code behind the bot up on GitHub: https://github.com/urish/purple-eye
Components and Parts
Although perhaps the coolest part about Purple Eye is its Web Bluetooth and Physical Web demonstration capabilities, it was still pretty fun to create and put together.
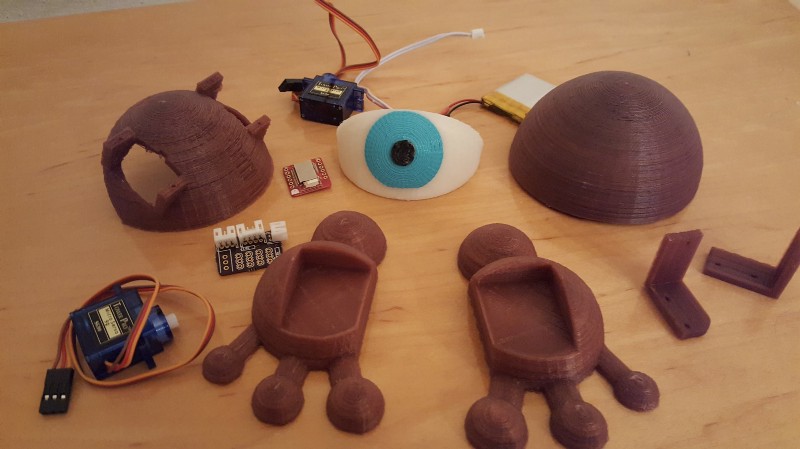
These components make up the robot:
- 3D printed body (head top, head base, 2 knees, 2 legs, eye white, eye iris, eye pupil), based on a model I found on Thingiverse
- Microcontroller board (details below)
- Motor board (for splitting the power to the servo motors)
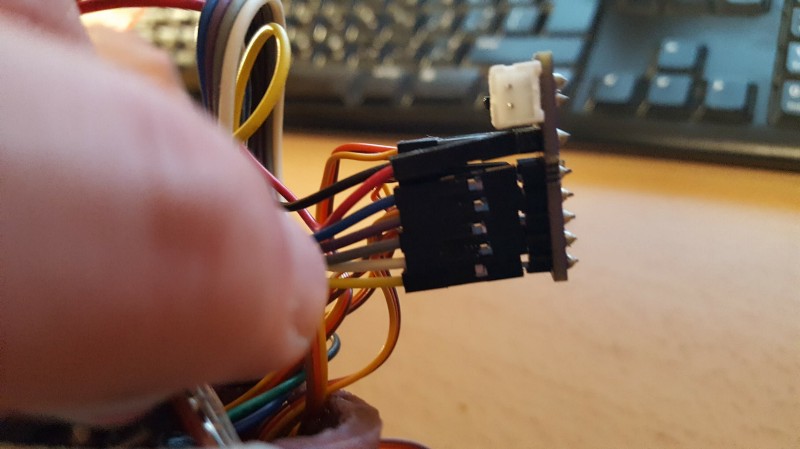
- A bunch of hookup wires
- 4 Micro-Servo motors — I used PowerHD HD-1600A
- 500 mAh LiPo battery and a matching 2-pin JST connector
- 12 screws for mounting the servos
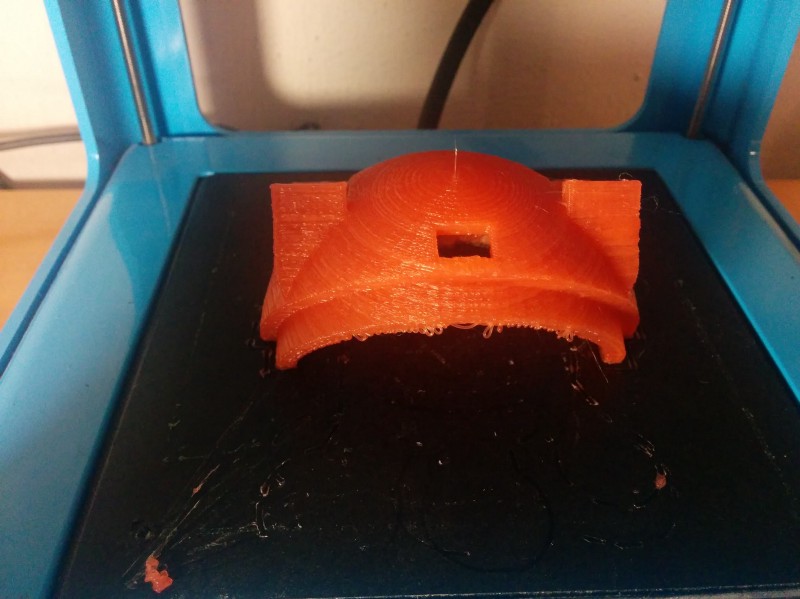
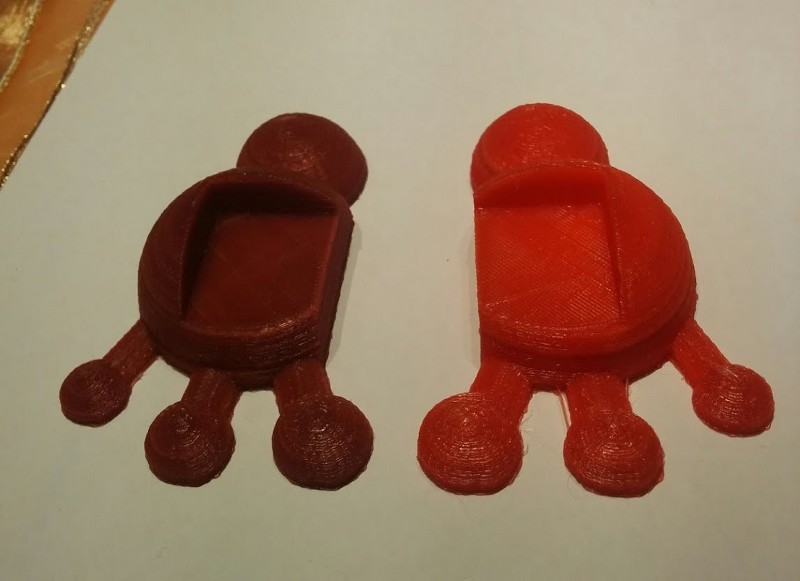
3D Printing and a Special Purple
To make Purple Eye even more interesting, I used a special purple filament for the 3D print: one that changes from purple to pink when touched, or generally heated above 30° C. This also means that if you put the robot in the sun for a few minutes it will turn pink (not unlike its creator).
Because of the heat from the nozzle, the parts are already pink when it leaves the printer. It takes them a day or two for them to become purple (unless you put them in the fridge for a few minutes).
If you’re looking to duplicate the build, you will probably want to use white filament for printing the eye white, black for the pupil, and some other color (possibly blue or green) for the iris — I used cyan. It took about 24 hours in total to print everything on the M3D Micro, though it’s not the fastest printer on the market.
Printing my Bluetooth Low Energy Robot @PurpleEyeBot. Wish it was so fast in real life! #DiY #3Dprinting pic.twitter.com/EvhsejqY3S
— Uri Shaked (@UriShaked) November 5, 2016
In addition, I had to alter some of the part dimensions in order to get a tight fit: in particular, the head top (ShellTop_fixed.stl) was printed 102% of the original size, and the pupil was printed 90% of its original size.
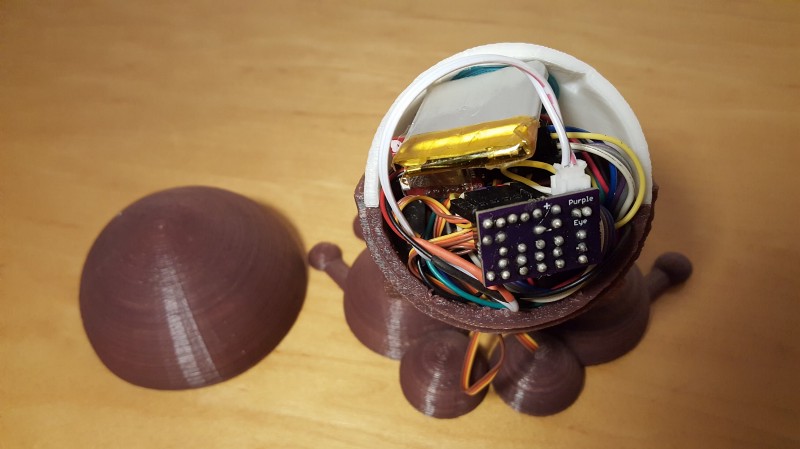
After printing everything, I glued the eye white, the pupil and the iris using superglue, then I glued the whole unit to the head base. The head top fits on top of everything by friction, which is convenient when I need to access its brain:
Here are a few more photos from the printing/build process:
Bot Brains: Choosing a Microcontroller Board
Initially I used Adafruit Feather 32u4 Bluefruit LE, a small board that combines the ATmega32 microcontroller (the same one Arduino uses) with nRF51822 — a cost-effective BLE chip (a.k.a nRF51 in short).
While it did the trick, I was not really happy with the result — I needed a fair amount of code to communicate between the ATmega32 microcontroller and the nRF51 chip. You can find the firmware code I used for that board here.
I went looking for an alternative solution, and figured out that the nRF51 chip could actually be programmed — which meant I should be able to use it without the ATmega microcontroller. This would reduce the power consumption (giving the robot a longer battery life) and also reduce the size of the board (after all, we got limited space inside the robot’s head). It also made the code simpler by removing the need for the two microcontrollers to speak and synchronize with each other.
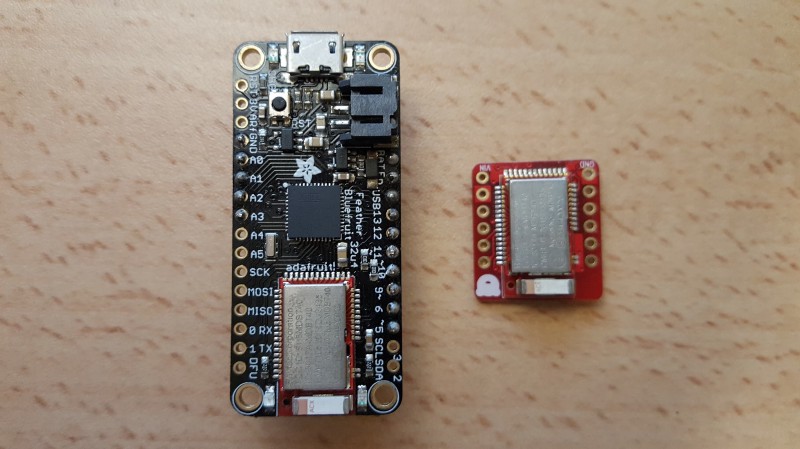
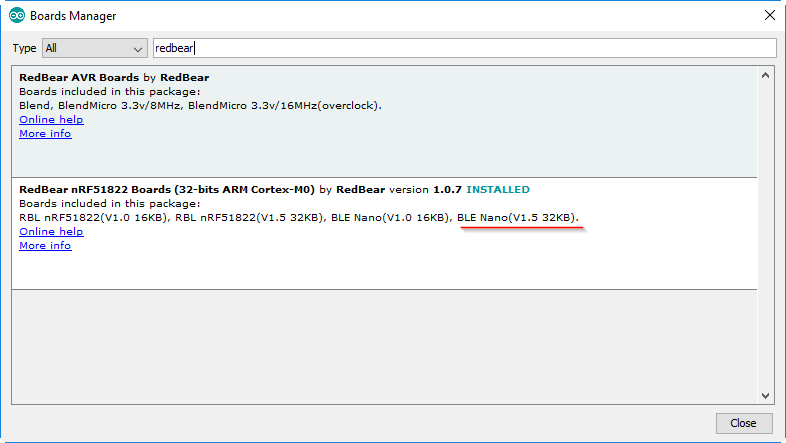
After looking for boards that carry just the nRF51 without a bunch of additional stuff, I found the RedBearLab BLE Nano, which I used to the second revision of the Robot’s hardware. The nice thing about this board is that it comes with a USB programmer, MK20, that allows you to program it directly using the familiar Arduino software, so you don’t need a complicated setup. If you have an Arduino development environment set up, you can get up and running in minutes.
You can find the source code for the nRF51-only firmware, which runs on the BLE Nano here (Don’t worry! I’ll explain the code below).
Connection Diagram
This is the connection diagram showing how to connect the CPU board with the 4 servos and an external LiPo battery:

The connections are pretty straightforward — each of the P28, P29, P15, P07 pins are connected to a different servo motor, the battery positive to the VIN pin, and negative to the GND pin.
I used a pair of 10KΩ resistors to form a voltage divider — dividing the voltage of the battery by 2, and connecting the result to the P06 pin of the BLE Nano. You need to divide the voltage by two because the LiPo battery can produce voltages as high as 4.2 volts, which can harm the BLE Nano (which runs on only 3.3 volts). P06 is an analog input pin, which allows us to read the voltage level of the battery, and report it through a BLE Battery Service.
Servo + Power Board
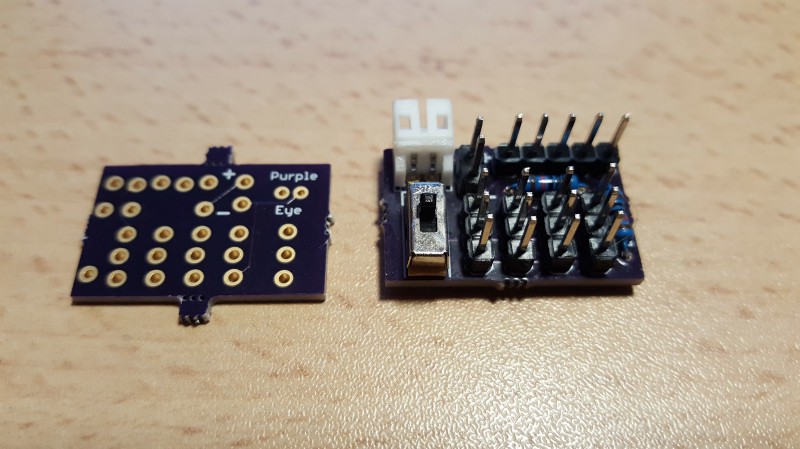
Instead of having to wire everything manually, which would create a mess inside the robot’s head, I decided to create a PCB to split the power to the motors, and also add a small switch that will allow me to switch the robot on/off without having to connect/disconnect the battery each time.
I ordered the board from OSH Park, which is a great fit for Purple Eye — as they manufacture purple PCBs:
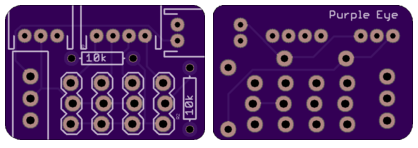
You can find the board here and the Eagle source files here.
Power Consumption
One of the goals I have for the robot is the ability to run off the battery for a long time (upwards of several days).
I measured the power consumption of revision 1 (with the Adafruit Feather 32u4 Bluefruit LE chip) to be about 10mA in an idle state, while the revision 2 Nano BLE board consumes around 1.4mA, which can be further reduced to 1.1mA by simply switching off the on-board LED.
However, there is another hungry consumer on the circuit: the Servos consume around 26mA while idle. This means that the total power consumption is around 27mA. The battery has a capacity of 500mAh, which means we can run the robot in idle mode for 500/27, or 18.5hours off the battery.
This isn’t too bad, but in the next revision of the board, I plan to add a MOSFET transistor that will allow to cut the power to the motors when idle, which would result in 300–400 hours of idle time, or about two weeks.
Code Breakdown
This is a break down is for the BLE Nano firmware, which can be found here.
The source code comprises two parts: the actual firmware, and a small library for controlling Servos from the nRF51. The Arduino library that comes with the BLE nano includes a built-in Servo library, but it does not work well in conjunction with the Bluetooth Radio — in some cases, the Bluetooth Radio code kicks-in in the middle of sending the servo control pulse, and it messes up with the timing of the pulse, causing the robot to twist unwillingly. Thus, I wrote my own compatible implementation which uses the nRF51 radio functions to schedule “quiet times” when it can send control signals to the servos without being interrupt by the radio.
As far as the actual robot logic, the setup() function initializes everything. It sets up a serial console for debugging and turns the built-in LED off to conserve power.
As mentioned above, the robot uses the Physical Web to announce its presence and share a link to the web page that controls it. You can see here the actual Eddystone advertisement payload — the one that the robot periodically broadcasts, which is how we implement the Physical Web.
One thing that might be a little confusing is is the accumulateAdvertisingPayload. This configures what data the device advertises to nearby devices. It advertises the list of services that the bot offers (see line 101), so Web Bluetooth will be able to see these services and will let the web page connect with the device. It also sends the Physical Web (Eddystone) payload (line 102) to the world.
Controlling the Robot
I built a simple web page to control the robot, which takes advantage of Web Bluetooth to connect to the nRF51 chip and command it. The servos are controlled by writing 4 bytes to characteristic number 5200 of service number 5100 (as can be seen in the code), each byte controlling the position of individual servo.
The web page includes a Connect button, a small battery indicator that displays the current status of the battery (using Font Awesome), two buttons that make the robot stand straight or spread its legs, a Rest button to switch the motors off, and also a Dance button which makes the robot wobble, and a Shimmy button that makes it... well you can guess ;-)
As you can see by following the links above, both Dance and Shimmy are actually implemented in the browser, using timers — which means that the actual timing of these movements depends on how busy your phone is and also on the Bluetooth link quality between the robot and the phone:
An interesting result of this is that if you lock your device’s screen or switch to a different app, the Chrome tab gets a low priority and the robot will start moving real slow — as the timers will fire every second or so instead of every few milliseconds.
The web page is super basic, and could use some CSS love. This is a open source project, so if you feel like, you are invited to send a pull request to make it look prettier, or even fork it and build your own control page, perhaps with some new moves :)
Future Enhancements
As mentioned above, I would love to reduce the bot’s power consumption by cutting the power to the servos when they are not in use, thereby getting closer to a few weeks of continuous operation on one battery charge.
While presenting with the bot, I got a number of other suggestions for enhancements, including putting a small camera inside the eye and adding a small speaker so it can play music or make noises when it dances. These are both definitely interesting, but I don’t think that the nRF51 will be able to handle the camera or synthesize interesting sounds. Furthermore, BLE is not a suitable for streaming video, as the bandwidth is low and tops at a few kilobytes per seconds. That said, I could use one of the Onion Omega 2 boards that I backed on Kickstarter, and stream the video over WiFi.
Another direction I could go — which I think would be extremely interesting and fun to work on — would be to add some sensors: an accelerometer, magnetometer or perhaps a gyroscope, so the robot could sense its orientation and act accordingly. Ultimately, I may even be able to teach it how to walk based on the input data from these sensors, which would be really cool.
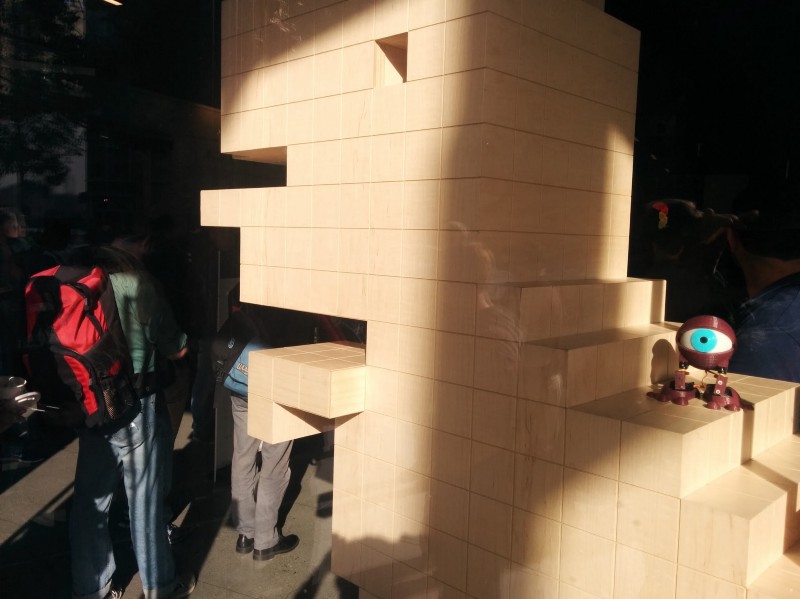
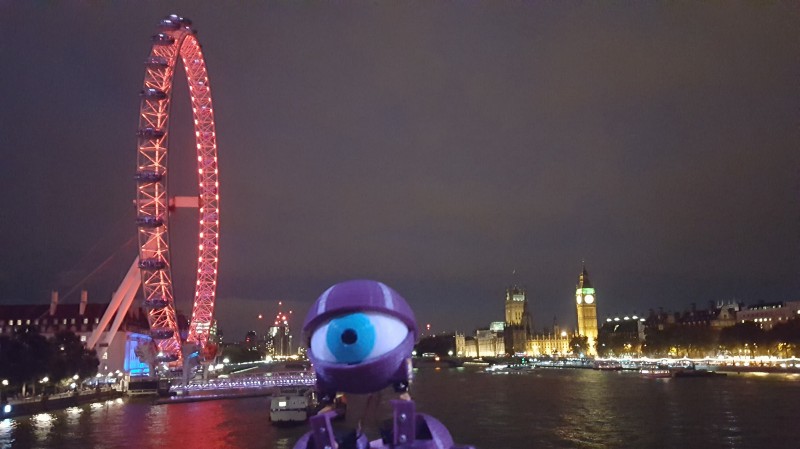
Until then, though, Purple Bot and I are going to keep traveling to workshops, sightseeing, and making friends!
Best Friends Forever! ?❤️?? @NativeScriptMip @PurpleEyeBot @sebawita pic.twitter.com/vGt9ez672p
— Uri Shaked (@UriShaked) October 11, 2016
PurpleEye rockin' hard #PartyTime @cyberdoguk @PurpleEyeBot pic.twitter.com/OukNFRJ6O9
— Uri Shaked (@UriShaked) October 13, 2016