Turning Arduino OLED Display into a Web Component
Let's create a web component based on an hardware device!

In the following post I will describe my personal experience in making a web component based on a hardware device, as part of contributing to “Wokwi-elements”. It’s an extremely cool open source library for “Arduino elements” made by Uri Shaked.
The creativity behind the Wokwi lib immediately caught my mind and I recognised an opportunity to play with new techniques and gain more experience with concepts I was experienced with.
If I’ll shortly try to explain what Wokwi (at the moment) is I would say — a virtual Arduino playground environment in form of fun tutorials, built on top of an impressive Arduino AVR simulator project.
Making a web form of an hardware component is an interesting process.
It requires:
- Doing a little research about the component — get its actual size (physical height and width).
- Paying attention to the ratio between its parts (proportions).
- Understanding how it is being used so that its web behaviour be as close as possible to the original device in order to give a good user experience.
An OLED, You Say?
OLED is a kind of display technology. You are probably familiar with LCD displays, so what makes OLED special?
OLED displays are emissive, which means their pixels emit light when you apply electrical current to them. This is in contrast with LCDs, which display the image by blocking light.
This makes OLED much more efficient: since they emit their own light, only the white pixels consume power, and there’s no need for a power-hungry backlight (like you have in LCDs).
Learn more about OLED and its uses here.
 Adafruit Industries
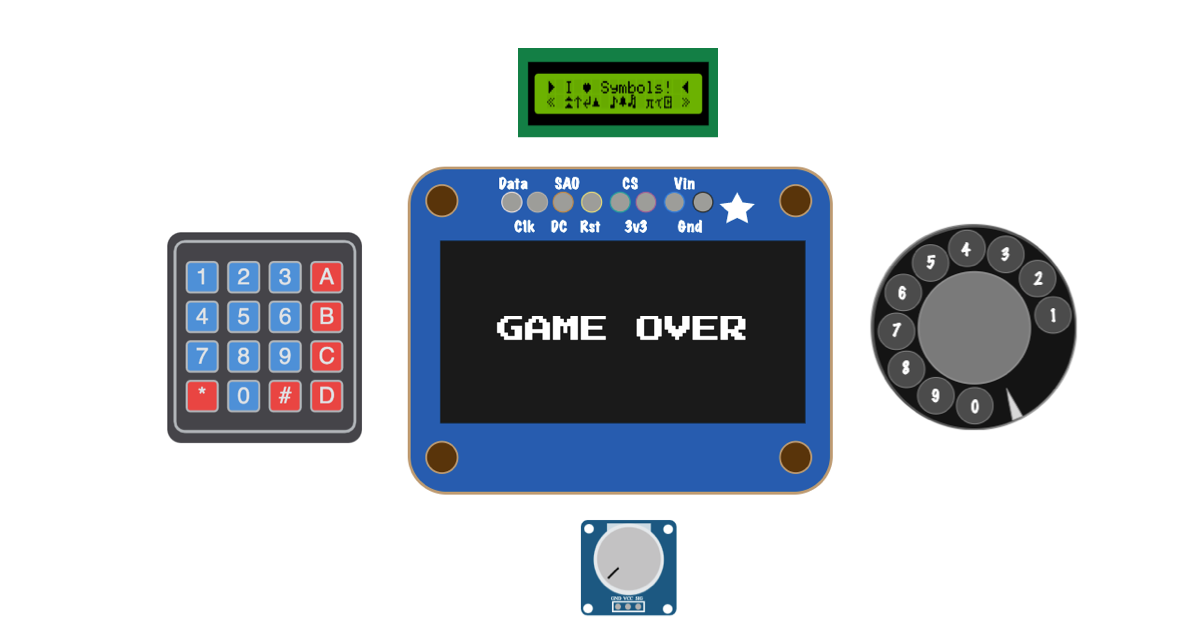
The goal of making the OLED display was to simulate the actual hardware when connecting the Adafruit 128x64 pixels display using I2C protocol (SDA, SCL pins) and using its driver API.
The Wokwi users can test their code by using the simulator and be confident that it will be able to run properly when used on the hardware, and it also makes it easy to share code and projects with other people.
Webifying: from hardware into UI element
Once we found the element size in the specs we’ll start to design it. The easiest way of illustrating the component is by using a designer tool such as Inkscape, Sketch, Illustrator etc.. and export the SVG.
At first I used Sketch free trail, I liked their UI, really simple, I even got some advices from a designer friend. Later on I started using Affinity Designer which is also nice.
This is actually the first graphic (#SVG) I created, #sketch is super easy to work with! (even for someone like me who rather write code/config/definition file) https://t.co/Vj6oHOsz5U
— liron_hazan (@lironn_h) April 3, 2020
Let’s say I want to recreate the potentiometer device as an SVG out of the elements png image?
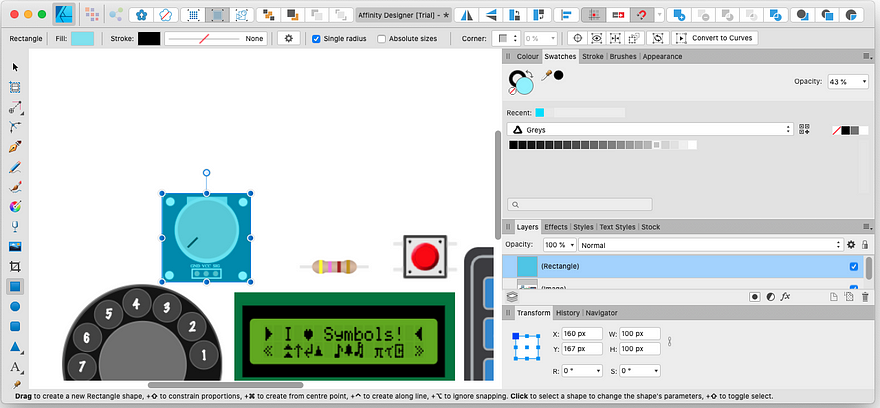
In general the steps of doing so are:
- Pick the rect shape from the left menu
- Give it a color and opacity of ~ 50% so you could fit it to the original size — right menu, you can give a radius to the corners as well.
- Do the same for the inner shapes that this element is composed of — the inner circle, the 4 small circles in the corner.
- Add the texts and start coloring however you want!
- Group the elements into one SVG and extract it
Just watch Uri’s tutorial and see how easy it could be!
Tweaking and optimising the SVG
I think every seasoned Frontend developer in some point got a “defected” fonts from the designer and had to dig into the original SVG. When you open an SVG file that wasn’t extracted properly you find a lot of stuff you don’t need. Some designer tools let you extract a cleaner version and yet my next step is using a tool called SVG-OMG (by Jake Archibald) to clean it even more if possible.
Once I have a cleaner SVG I use it as if it was an HTML, so it would be easier to maintain, e.g. DRYing the SVG (remove duplicate patterns). This is achieved by moving attributes that repeat themselves to the aggregated <g>. Also If there’s a single text element:
<text><tspan> foo </tspan></text>I would remove the <tspan>, if there’s a filter, I would probably want to move some definitions into the CSS etc..
The SSD1306 is an SVG element but the 128x64 pixels display is actually a Canvas element.
Why? SVG is great for vector graphics, but this is a pixel display, so we need some way to display pixels and for that cause Canvas is the ultimate candidate.
I integrated it in the SVG using the foreignObject element as follows:
<foreignObject
   ?visibility="${visibility}"
    width="${screenWidth}"
    height="${screenHeight}">
    <canvas
       width="${screenWidth}"                                                    height="${screenHeight}">
    </canvas>
</foreignObject>The Canvas element let us supply an image drawing experience since under the hood we use the its 2D context putImageData method whenever the user passes an imageData to the element it will be painted into our Canvas display.
The ImageData object represents the underlying pixel data of an area of a canvas object.
The imageData object holds a data property which is an array of 8-bit unsigned integers values between 0 and 255, calledUint8ClampedArray.
This one-dimensional data array represents the RGBA — Red, Green, Blue and Alpha (opacity) values which constructs the pixel.
Making an Arduino component using LitElement
Wokwi elements are eventually Web Components — which is awesome cause you can use them on any framework that supports Web Components (Angular/Vew/React).
Writing Web Components using the native API requires writing a lot of code, it’s really verbose thus easy to forget.
We use the LitElement abstraction which is really easy, intuitive and has nice features: easy hooks, stylemap and classmap directives etc...
The ssd1306 element expects a single imageData property used when the element initialised we used the LIT firstUpdated hook in order to make that happen.
firstUpdated() {
    this.initContext();
    this.ctx?.putImageData(this.imageData, 0, 0);
}
The API exposes a redraw() method as well in case the user wishes to update the image or run animations.
Here’s an example of using the <wokwi-ssd1306> element from a Typescript app:
Watch the display come to life with the avr8js simulator!!
Check out the Wokwi SSD1306 demos:

To sum it up, I would say that the end to end experience (UI design to coding) of making a web element based on an hardware one is amazing, I really enjoy the styling parts as well as the technical challenges in preserving an actual behaviour which encourages a creative thinking.
I want to thank Uri Shaked for making Wokwi and reviewing this post!
BR,
Liron.