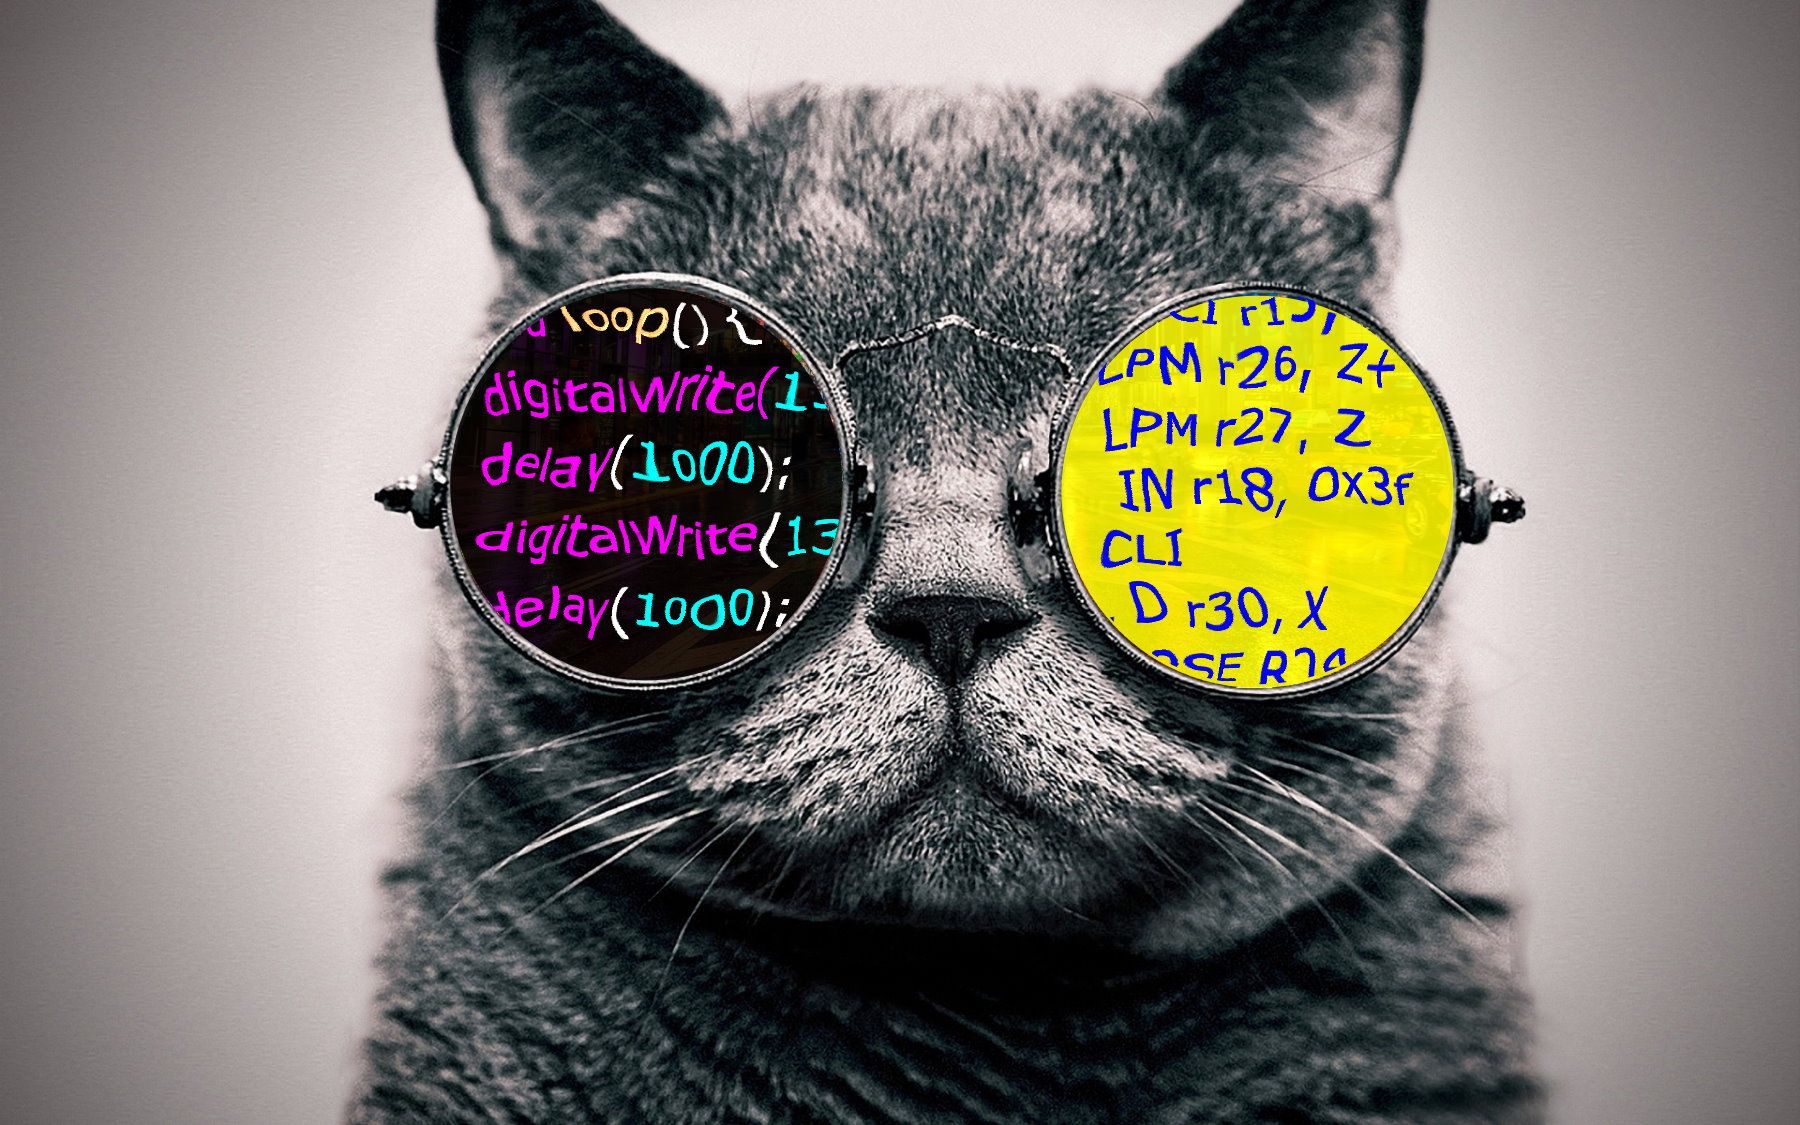
AVR8js: Simulate Arduino in JavaScript
New AVR simulator that allows you to compile and run Arduino code directly in your browser!

When I write about JavaScript or other Web-related topics, I often include code samples that you can run and interact with. This allows the readers to tinker with the code and experiment further, as well as test their understanding of the subject.
I wanted to bring the same experience to my Arduino and electronics blog posts. That's how AVR8js, an open-source AVR simulator that runs inside the browser, was born.
Shall I take you for a quick tour of the simulator and tell you how I built it?
Ready, Simulate - Action!
Before diving into the details, I'll let you tinker with the simulator. This example includes a code editor and two LEDs. You can write any Arduino code in the simulator, click the "Run" button, and see the LEDs go on and off as your code is running:
// Green LED connected to LED_BUILTIN,
// Red LED connected to pin 12. Enjoy!

void setup() {
  pinMode(LED_BUILTIN, OUTPUT);
}

void loop() {
  digitalWrite(LED_BUILTIN, HIGH);
  delay(500);
  digitalWrite(LED_BUILTIN, LOW);
  delay(500);
}
Can you change the code so that it alternates between the red and the green LEDs? After changing the code simply click "Stop" and then "Run" again and observe the result.
Since first publishing this post, I built a even more interactive demos that you can explore: 6 LEDs, Serial Port output.
Found any bugs yet? great job, read on!
Simulation Speed and Hardware ⏰
When running the above code, you probably noticed it ran slower than real time. On my computer, for instance, it runs about half speed. My initial goal was to get the simulator up and running, and my next focus would be to improve the simulation the speed. Can it run any faster?
Many people believe JavaScript is inherently slow, and this used to be true in the past, but nowadays browsers have some amazing tricks up their sleeves which can make JavaScript blazing fast, just as native code. I'll share my making-it-fast adventures in this blog, so keep an eye open and learn about my magic sauce for speeding things up.
Making It Tick ⚙
The demo you have just seen contains several elements: at its core, we have the AVR8js library that implements the logic of the Arduino microcontroller. We'll go into details in just a few paragraph.
The code editing experience is provided by Monaco Editor, which is the code editor from Visual Studio code. It is an open-source, modern code editor that provides syntax highlighting, automatic indentation and auto-complete, as well as some fancy features such as code folding and multi-cursor editing.
Finally, there is a cloud service that compiles your source code into AVR machine code using the Arduino CLI. For the tech-savvy, this is a simple Node.js web service running inside a Dockerfile image on the Google Cloud Run platform.
After we know the high-level details, let's dig into the AVR simulation. Ready?
Behind The Scenes
The AVR8js library implements several components that can be glued together to run the simulation engine: the CPU class, the instruction logic, and the peripherals.
The CPU class stores information about the state of the emulated microcontroller: the code of the running program, the memory content (RAM), as well as the program counter, pc, which tells the microcontroller which instructions to run next, and a cycle counter that keeps track of the simulation time.
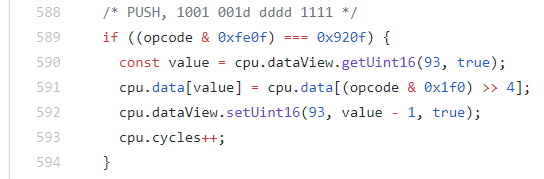
The instruction logic is currently implemented in one very very long function, avrInstruction(), which I built by painstakingly going over the AVR instruction set manual and implementing the instructions one-by-one.
In order to be useful, the microcontroller has to interact with the outside world. This is done by using peripherals, such as the GPIO (general purpose input-output), and Timers for keeping track of the time.
The code includes a partial implementation of ATmega328p's 8-bit timers, and I plan to extend it to 16-bit timers and add the missing features over the next couple of weeks.
As for GPIO, the CPU class implements a simple hooking mechanism that peripherals can connect to. In the next paragraphs you will see how it can be used to connect LEDs to the virtual pins of the microcontroller.
It Haz Tests! ✔
Implementing all the different AVR instructions was a mundane task, and as such, it was also error-prone. Thus, I decided to write unit tests for the CPU instructions and timer logic, to help catching any errors I had (and boy, I had many of them...).
The unit tests also serve as a minimal example of using the simulation an engine to execute a single instruction and observing the results:
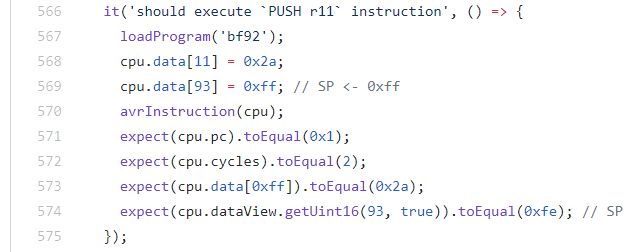
The loadProgram() function loads the given machine code into the program memory of the CPU, and avrInstruction() executes the state machine that runs the next instruction. I use the Jest testing framework, which uses the expect syntax for writing the test assertions, and currently have nearly 100 tests cases.
As mentioned above, I'm looking to improve the performance of the emulation engine and extend the timer functionality, and I am pretty confident that the tests will be very helpful to ensure that the code stays functional and avoid regressions when I will be refactoring this code.
Connecting The Dots
You have seen the different parts that make the simulation engine, but how do they fit together?
Let's see a simple example that can execute the "Blink" program and show us some output:
import { CPU, avrInstruction, AVRTimer, timer0Config } from 'avr8js';

const program = new Uint16Array(16384);
// Load the code into the `program` array

const cpu = new CPU(program);
const timer0 = new AVRTimer(cpu, timer0Config);
cpu.writeHooks[0x25] = function(value, oldValue) {
  const PB5 = 0b0100000;
  if ((value & PB5) !== (oldValue & PB5)) {
    console.log('LED:', value & PB5 ? 'ON' : 'OFF');
  }
}

while (true) {
  avrInstruction(cpu);
  timer0.tick();
  // Do other work...
}
Lines 3-4 take care of creating the program memory and loading the program into it. We create a 32KB array (16384 words), the same size as Arduino's ATmega328p chip flash memory. The actual code for loading the program into the array was omitted for brevity.
We then create the CPU and the AVRTimer objects. In this case, we only create a single timer, as the blink program we're running only uses this specific timer. You can learn more about Arduino timers in my 5 Ways to Blink and LED with Arduino post.
Lines 8-13 hooks into the GPIO peripheral. We want to monitor the state of Arduino pin 13, or PB5 pin of the ATmega328p chip, which is controlled by the PORTB register. This register is mapped at memory address 0x25, so we register an hook that will be called whenever the code writes to the address. The code checks the status of the bit corresponding to PB5, the sixth bit, and reports whenever it changes.
Finally, the loop at the end actually executes the code, one instruction at a time. We also call timer0.tick() , which takes care of the timer logic. In a real-world scenario, we would change the infinite loop to a finite one, to allow event processing to happen in the browser (so it won't freeze).
You can tinker with the complete code example on StackBlitz, or check out the demo program in the avr8js repo, which also integrates the code editor and visualizes the LED status more nicely.
It's Just The Beginning... ?
My first goal with AVR8js was to get it the run Blink, and then run it in the browser and close the loop with the code editor. I decided to release it as an open-source project and hope to get your feedback.
I have plenty of ideas to grow this simulator, and I'm planning to use it in my future posts and Arduino tutorials. Imagine an Arduino tutorial with exercises where you have to come up with a missing piece of code to solve some puzzle - this is what I have in mind.
So how can you be part of it?
- Found a bug? Great, open an issue
- Want to work on Arduino tutorials together? Shoot me an email
- Have some crazy ideas or cool use cases for the simulator? Let me know
Finally, I invite you to join our mailing list and keep up with how we build the simulator: